Starting a new Candlefish 16
In late August, we started building a new Candlefish 16. This is a spec build, not for a particular customer (want it? get in touch!).
The Candlefish is a Sam Devlin designed tiller steered open skiff. It’s available in 13, 16, & 18 feet, with several variations of interior layout. We’re building the “Bridge Deck” version, which has a seat and a large storage space in the middle that divides the boat into forward and aft working spaces. The Candlefish can also be built with a casting deck or a fully open hull. We think the bridge deck will make a great platform for on the water work like small scale lobstering. She’s built by stitch & glue out of marine grade plywood, sheathed in Dynel fabric, for a sturdy & rigid boat. We expect a fast, dry ride With a 20 HP outboard and plenty of cargo carrying capacity (in fact, Sam originally designed the Candlefish 13 to carry half a ton of moose).
We’ll be keeping a log of the build here, and on instagram as @nixie_marine.
The first step was a trip down to Boulter Plywood in Massachusetts. They always have a good stock of marine grade plywood, as well as some nice hardwood.
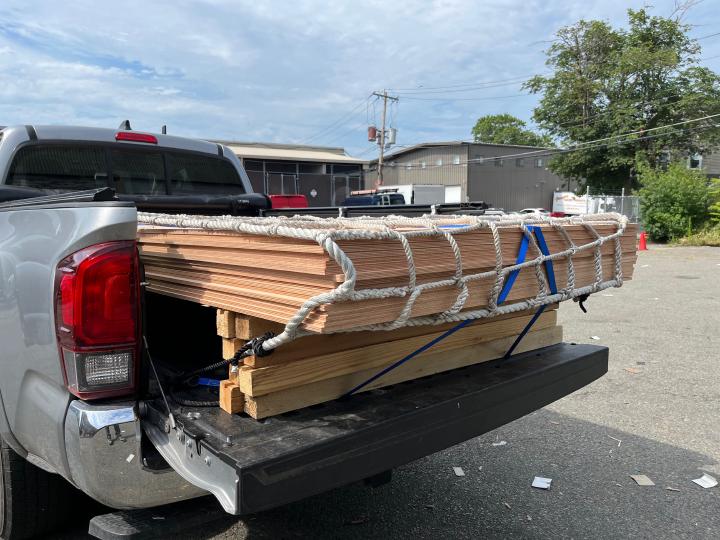
A pickup full of plywood: doesn't look much like a boat yet
The Candlefish is available as a CNC cut kit, which would save a lot of the initial work of scarfing and layout, but at the cost of waiting for a CNC company to cut and ship the parts. For this build we opted for a little more work to save a bit of cost and let us get started right away.
Of course, plywood only comes in 4 by 8 foot sheets and the planks of this boat are much longer than that, so we need to turn this stack of plywood into some 4 by 18 foot sheets. To do that, we scarf the sheets together. This is a special way of joining sheets of plywood edge to edge that is much stronger than simply butting them up against each other and gluing them. First we cut one of our 7 sheets of 3/8" plywood into thirds (each 18 foot sheet that we’re going to make will be made from two full sheets and a 1/3 sheet). Then we stack them all up, offsetting them by 3 inches.
Setting up a stack of plywood for stair step scarfing
Once we plane this staircase smooth, we’re left with a consistent 8:1 slope. We do this with a power planer to remove most of the material, then finish off with a belt sander to get the slope just right.
The cut scarfs
Because we’ve made the slope exactly the same, when these are flipped and laid against each other we’ll get a perfectly matched joint that will be a constant 3/8" throughout the joint. From the side it will look like someone slashed a line through the width of the sheet at an angle. Of course, for three of the sheets, the middle ones, we need to flip them over and cut a scarf on the other end as well.
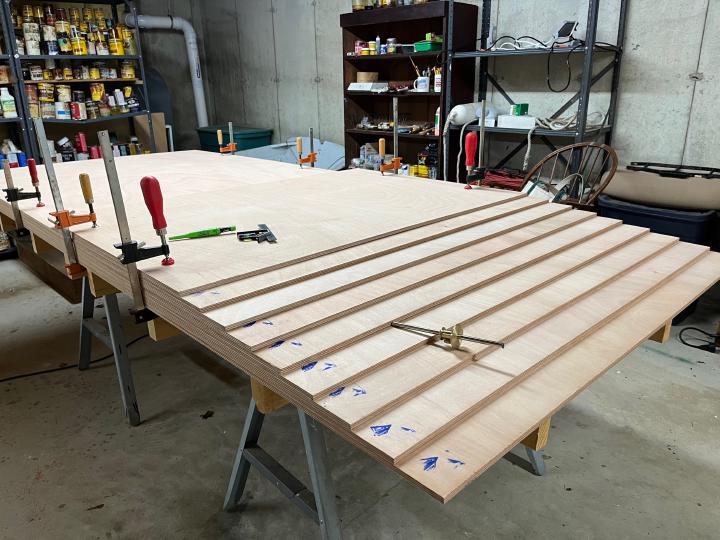
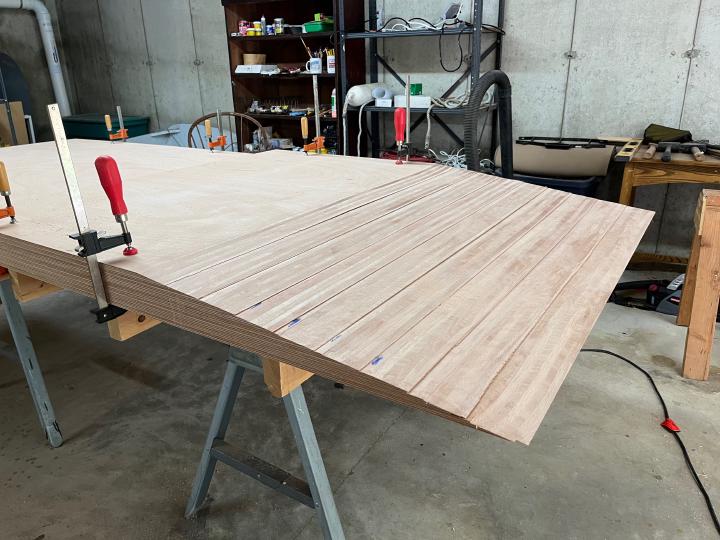
We use a jig made out of a couple of sheets of 3/4" plywood to clamp the scarfs in place while the glue cures. The joint gets sandwiched between two pieces of plywood and drywall screws are used to hold everything in place. We don’t worry too much about the holes the drywall screws leave, as we’ll fill them in later in the process. Sheet plastic on either side of the joint keeps the jig from getting stuck to the work (epoxy doesn’t like to bond to plastic). We use a laser line shot down one side of the assembly to keep everything as straight as possible.

Gluing up the scarfs
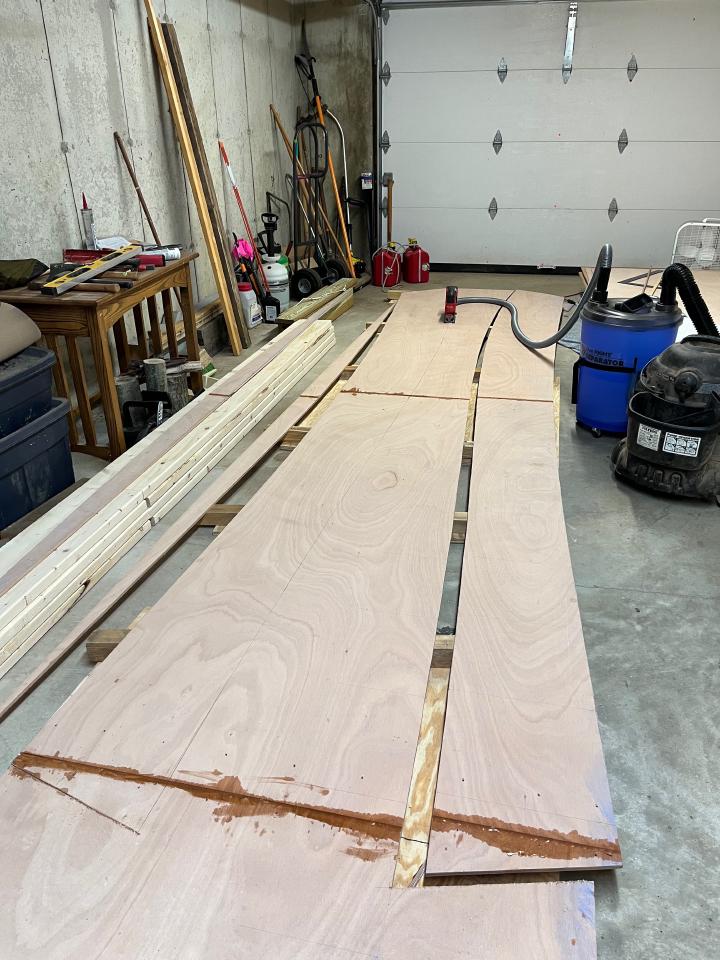
Once the epoxy cures, we need to copy the shape of the planks from the plans onto the plywood. The plans assume that the sheet has one straight edge and measure all the points along the planks from that edge. Sometimes, despite our best efforts, the scarfs are not perfectly straight, so we use the laser again to mark a straight edge along the sheet that we can measure from. Then we measure up from that line to get the shape of the plank.
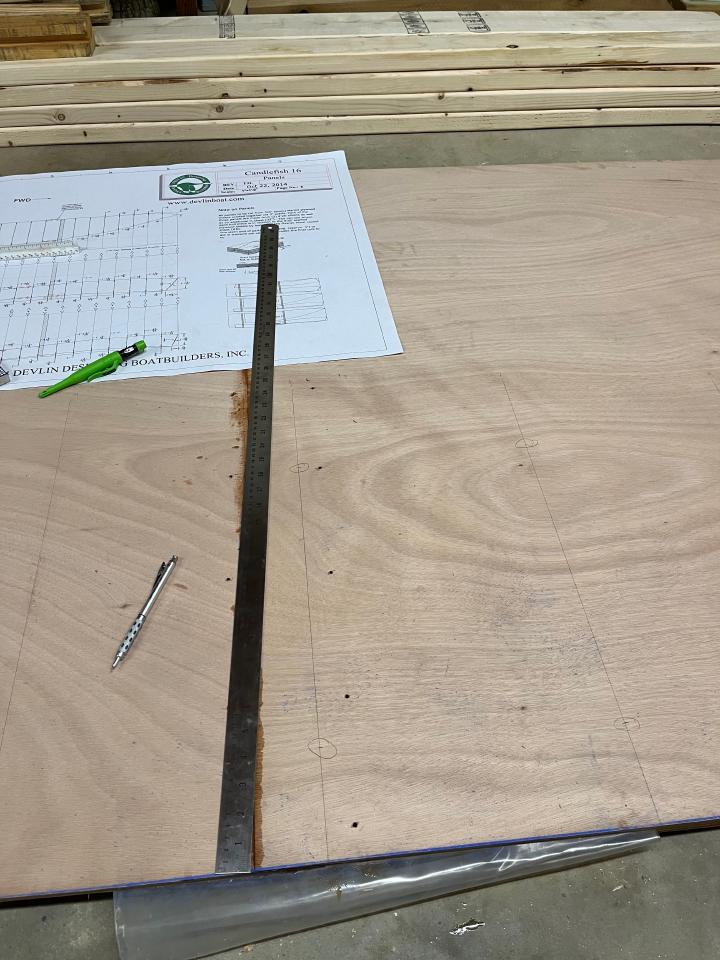
Laying out the planks

Laying out the planks
We cut the planks out with a jigsaw, staying just a little proud of the line. Since there are two of each plank, for either side of the boat, we simply trace the first onto the plywood. That way if we’ve made a small error, at least we make both sides of the boat the same.
Cutting out the planks
We clamp the both planks together before we trim them down to the line, that way they’re identical. A belt sander makes quick work of getting the edge down to the line.
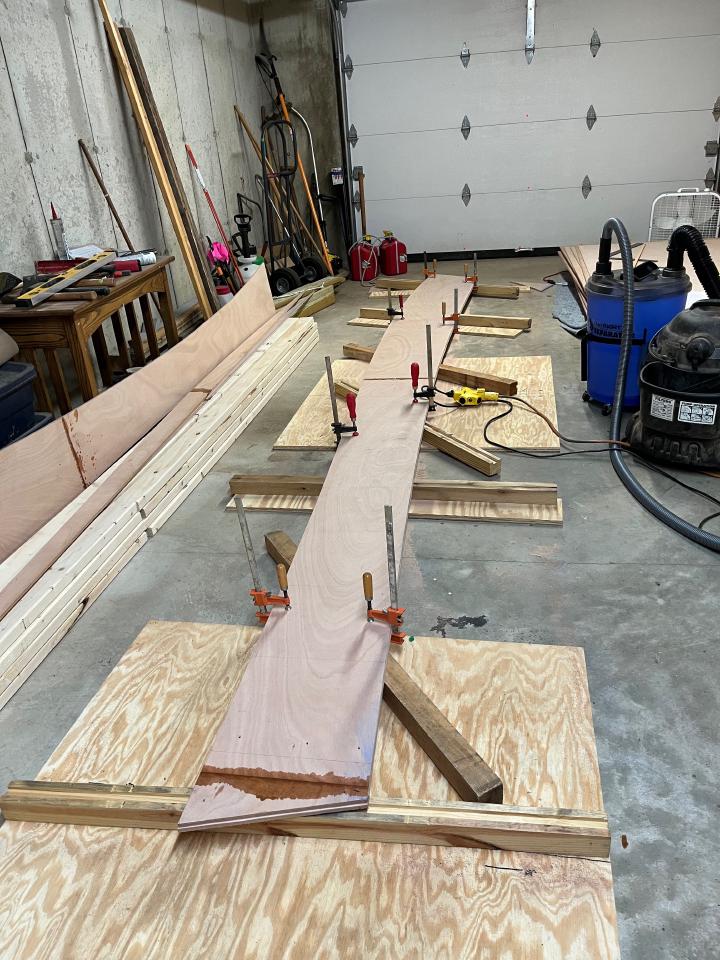
Trimming the planks to make them symmetric
In order to get the planks to sit together nicely, we bevel the insides of each plank with a router. That will let the stitches pull the planks together more stably.
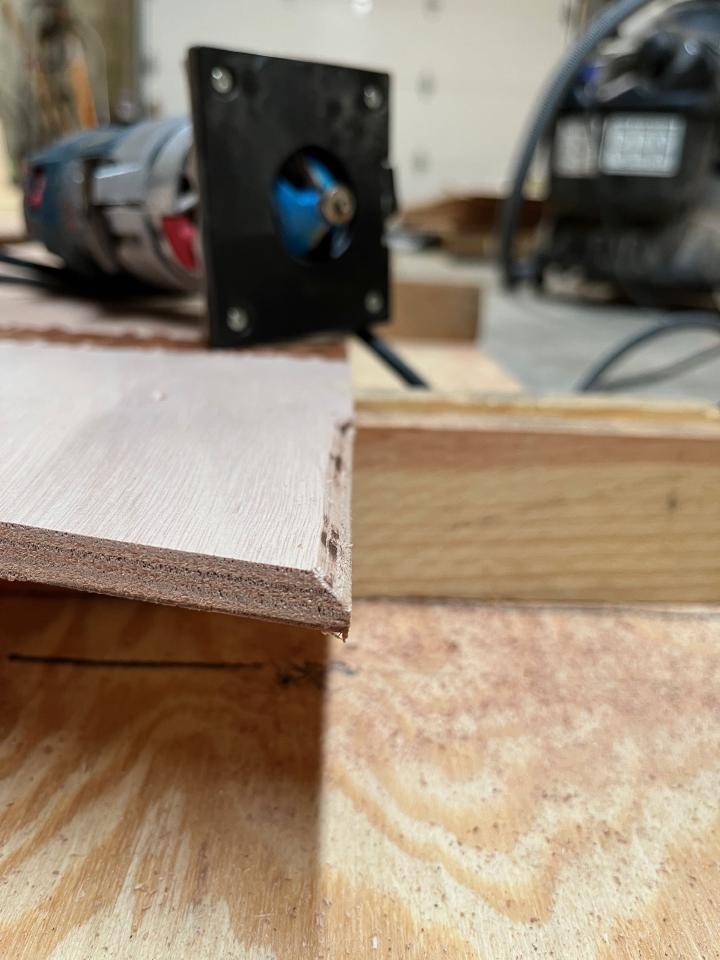
Beveling the inside edge of the planks
And there we have the planks for this boat done. Next we’ll cut out the transom & bulkheads, and build the strongback. More to come shortly!