Epoxy and Glass
Well, a lot has happened since the last time I wrote an update on the progress on the Candlefish 16. She’s just about ready to roll over! Let’s have a look at what it took to get here.
Once the planks are stitched in place, we start mixing epoxy. We used a thickened epoxy to basically tack weld the planks in place between the stitches so we can start removing the wire.
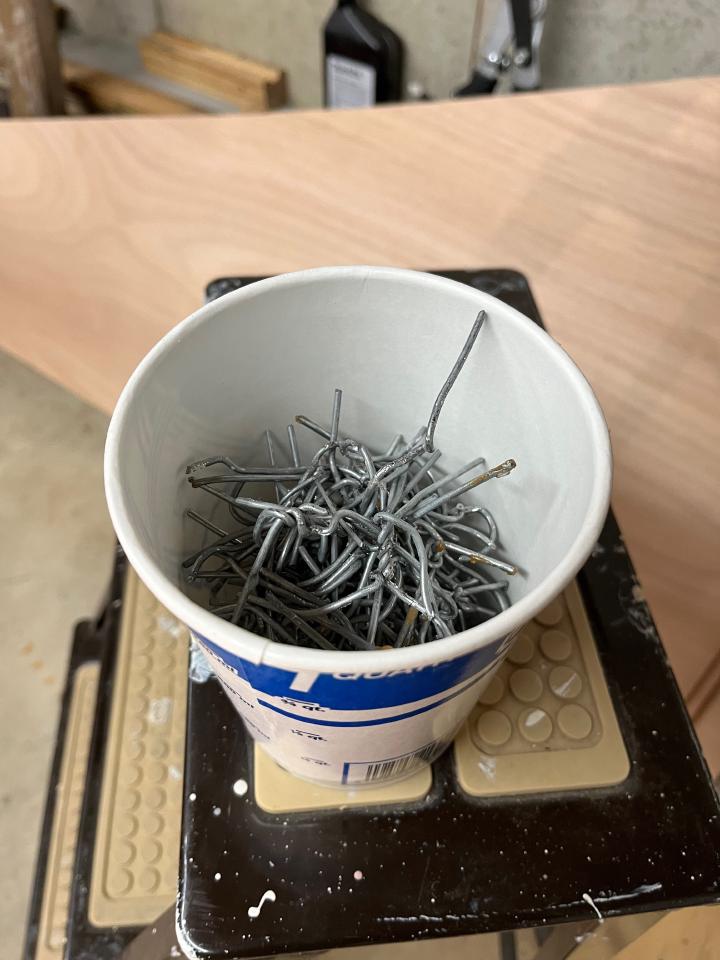
Pulling stitching wires
It took a lot of wire to hold her together
Sometimes the wires don't come out cleanly – don't worry, this will clean up nicely with epoxy


Over the tack welds we lay a smooth curve of thickened epoxy called a fillet. This gives the fiberglass tabbing a nice smooth curve to lay over (fiberglass doesn’t like sharp corners) and spreads the strength of the bond over a larger area than just where the wood touches. The fiberglass we’re using here is biaxial tape, which makes for a stronger joint than regular fiberglass. The strands of the weave run at a 45 degree angle to each other so all the strands cross the joint.
Measuring out biaxial tape
Tabbing bulkheads in place
More bulkhead tabbing

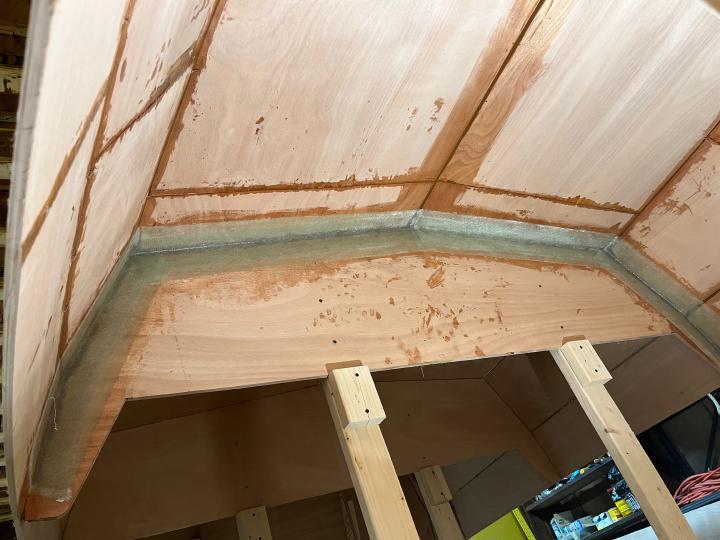
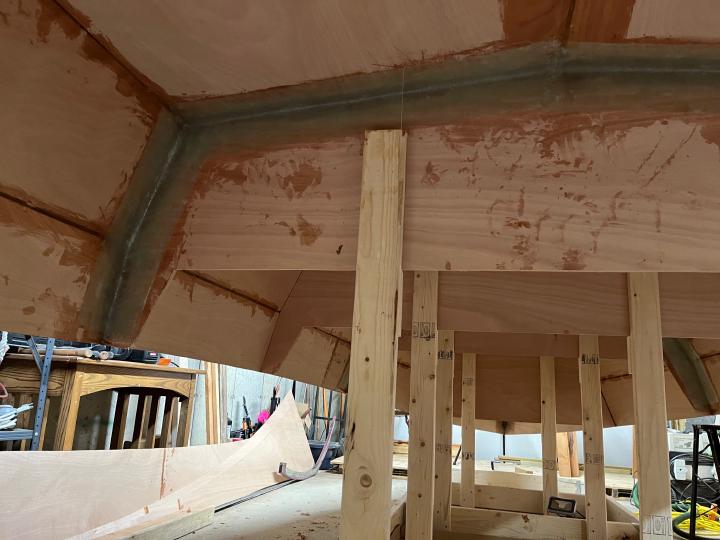
Working overhead with wet fiberglass isn’t a lot of fun and doing a perfectly neat job is hard, so we just tab one side of each bulkhead at this stage, preferring the ones that will be inside cabinetry in the end. That will be enough to hold her together until she’s right side up and we can do the rest of the tabbing. We have to do the center line as well, since we need to run the screws for keel through the glass.
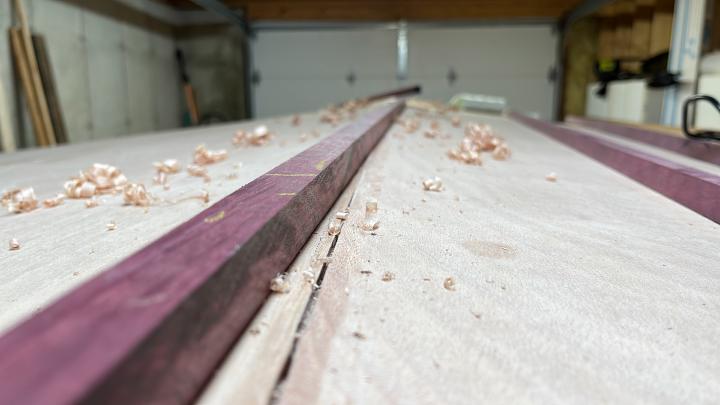
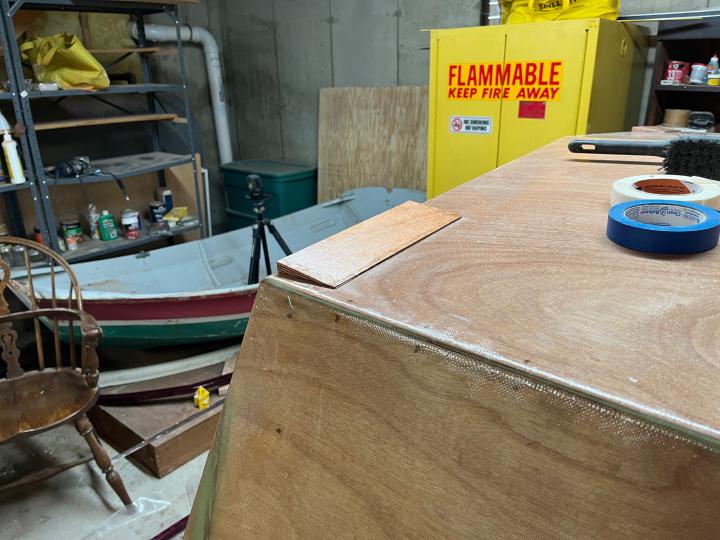
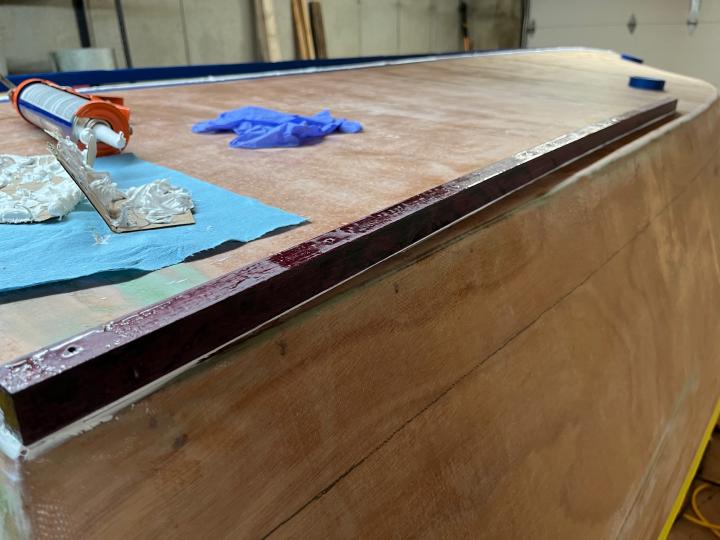
Next we start building the keel. For this we use purpleheart, which is an incredibly hard, sturdy wood (in addition to having a nice purple color). Below the waterline this will have to be painted with antifouling paint, but above the waterline we’ll keep the purpleheart unpainted and varnish it. It does tend to grey over the years, but we’ll keep that deep purple for as long as it lasts.
Flattening the centerline to take the keel
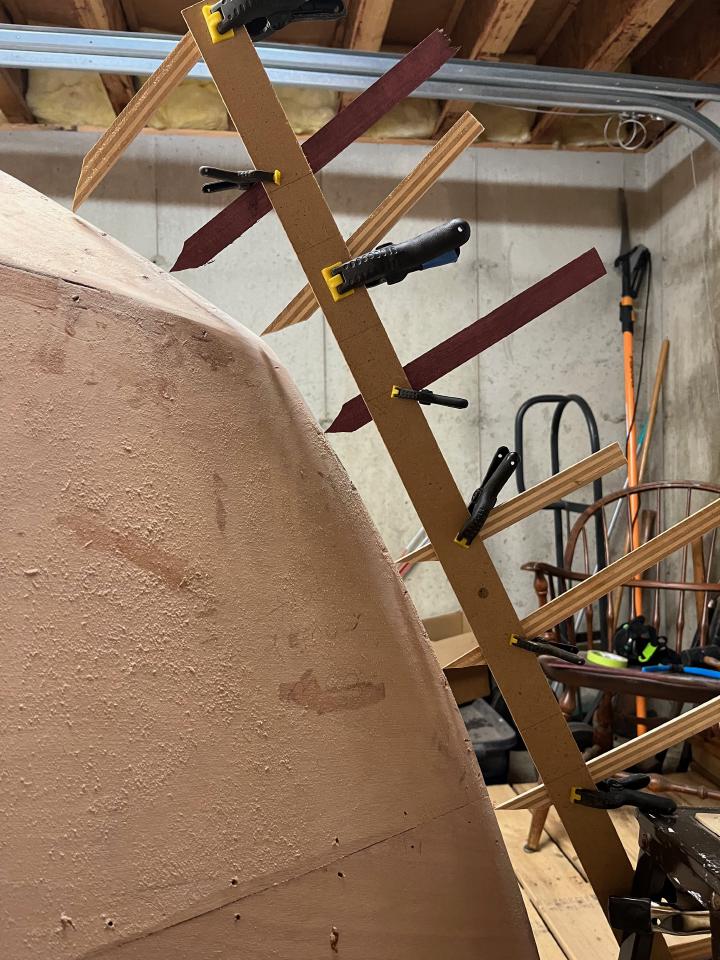
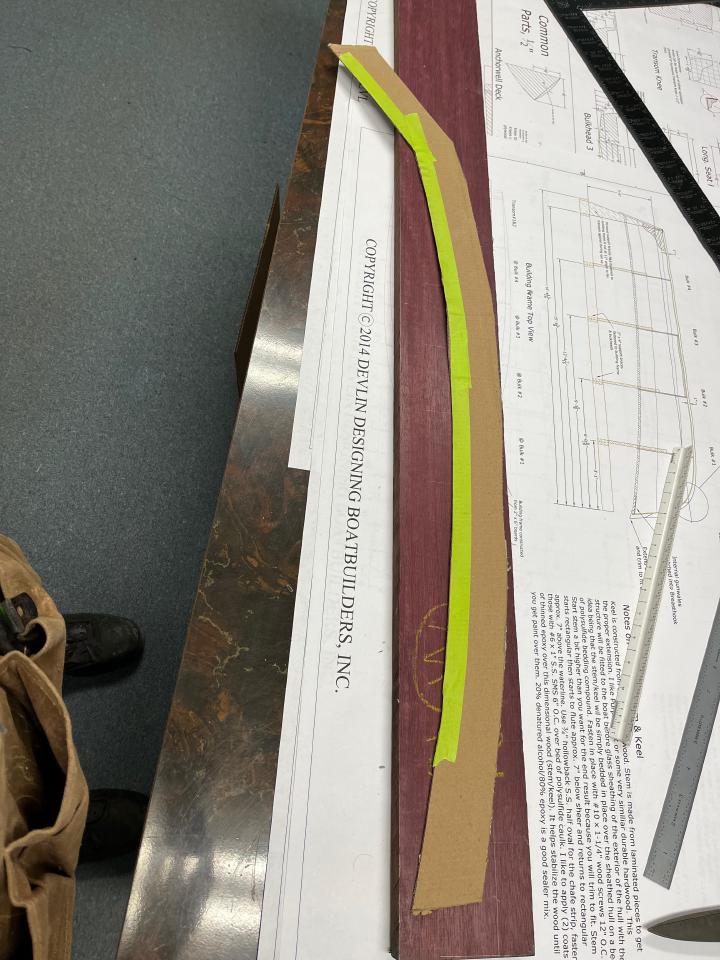
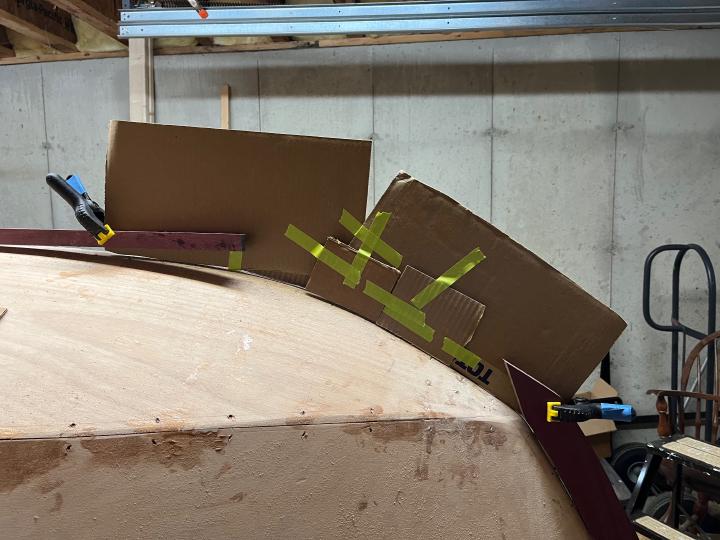
Capturing the curve of the bow
The stem is laid out on a piece of purpleheart
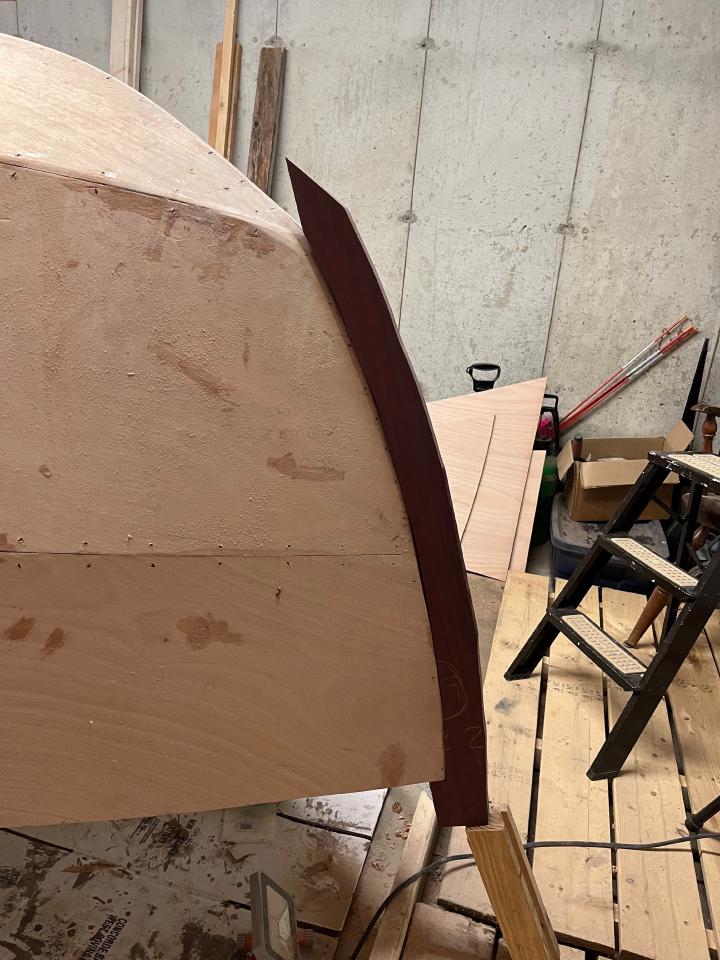
Dry fitting the stem
Next is the curve of the forefoot
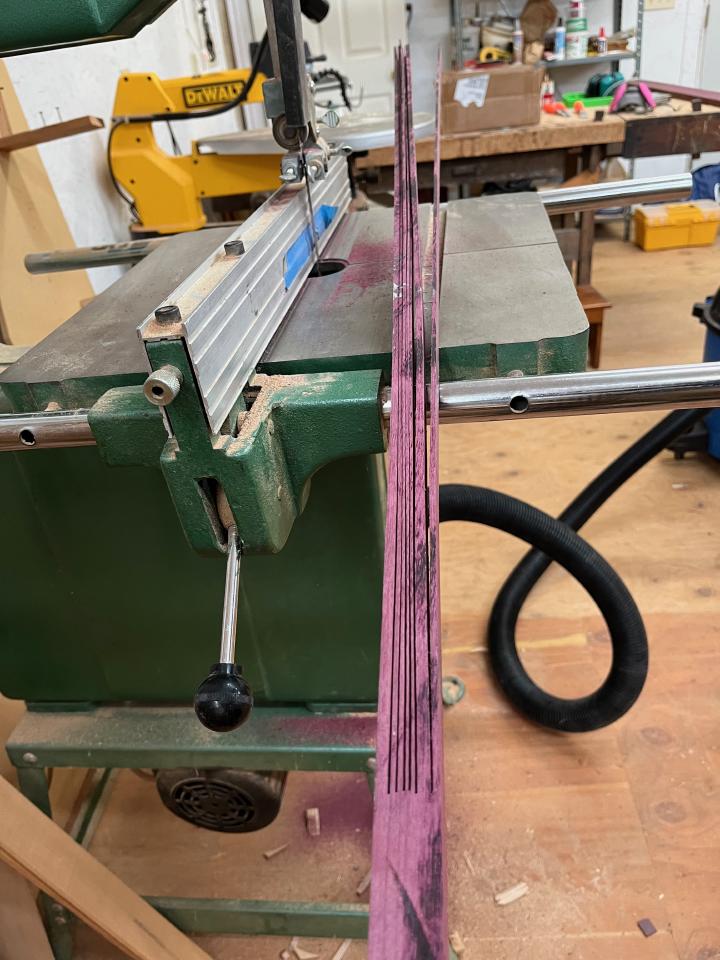
The forward most section of the keel has slightly more bend than the purpleheart will take, so we cut kerfs with the bandsaw and laminate a bend into the keel
Gluing up the stem and forefoot
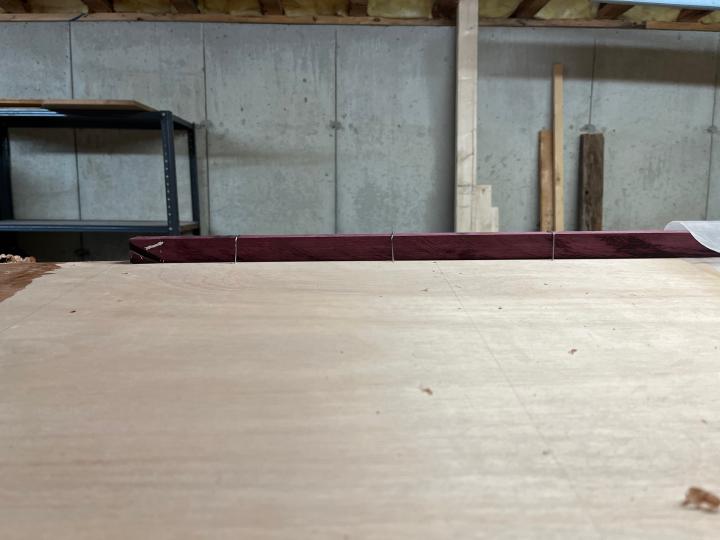
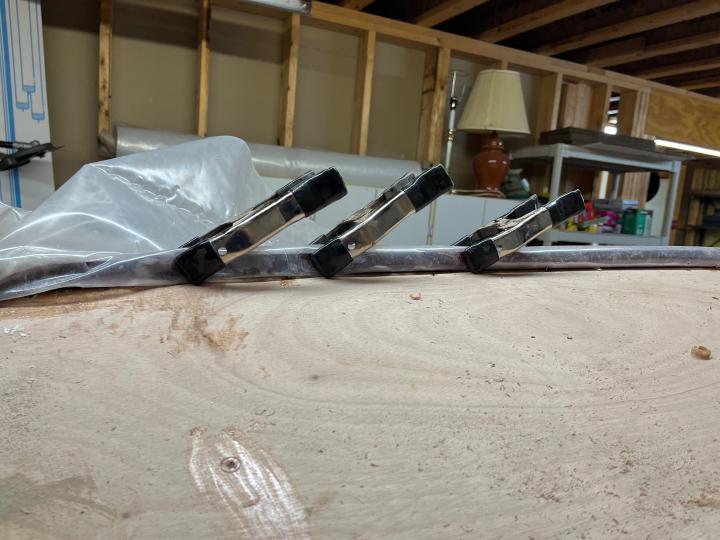
Stitching the forward keel to the hull so we can laminate it to shape in place
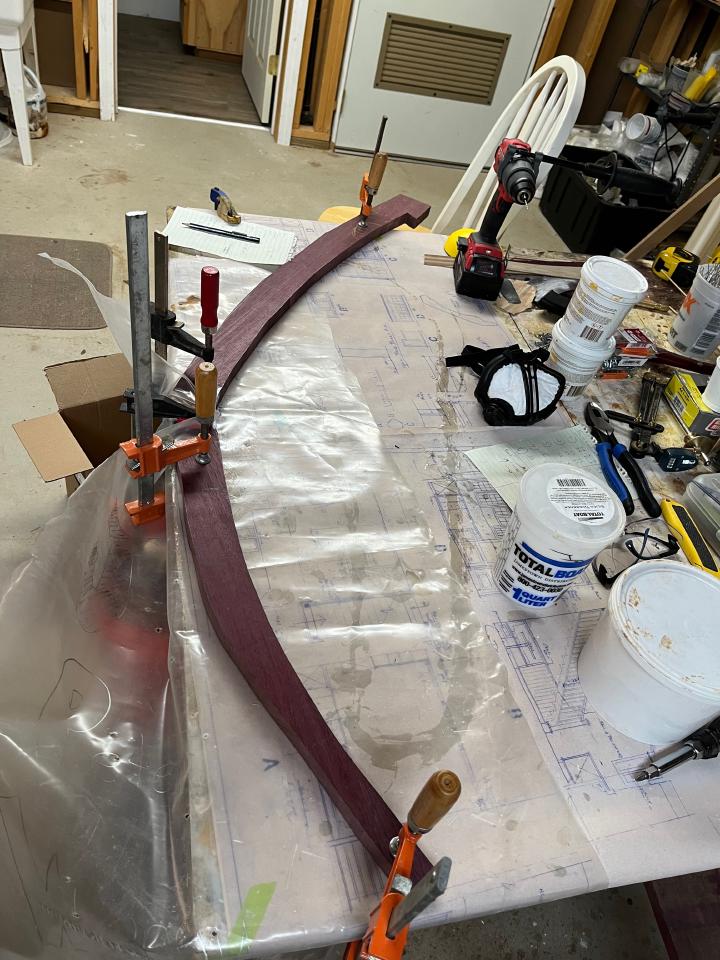
Gluing up the laminated keel
Sealing the keel and stem with epoxy to prevent the purpleheart from rotting down the road
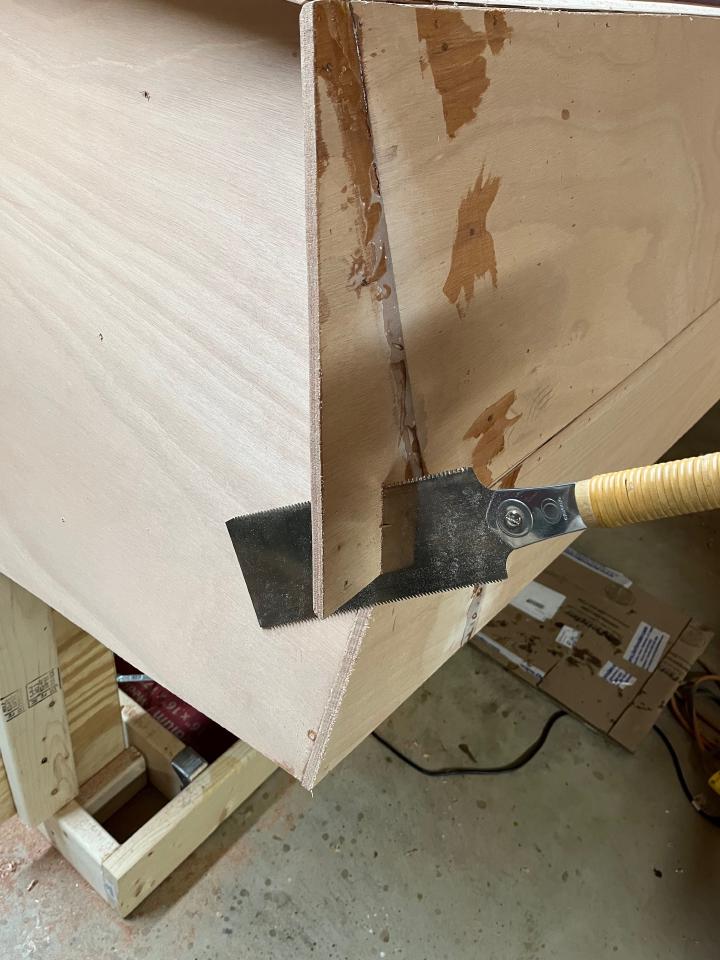
The hull planks are cut a few inches long to account for small variations as the hull comes together. This means that they stick out over the transom. Once the transom and hull are glued together, we can trim this excess off.
Trimming the end of the hull to length
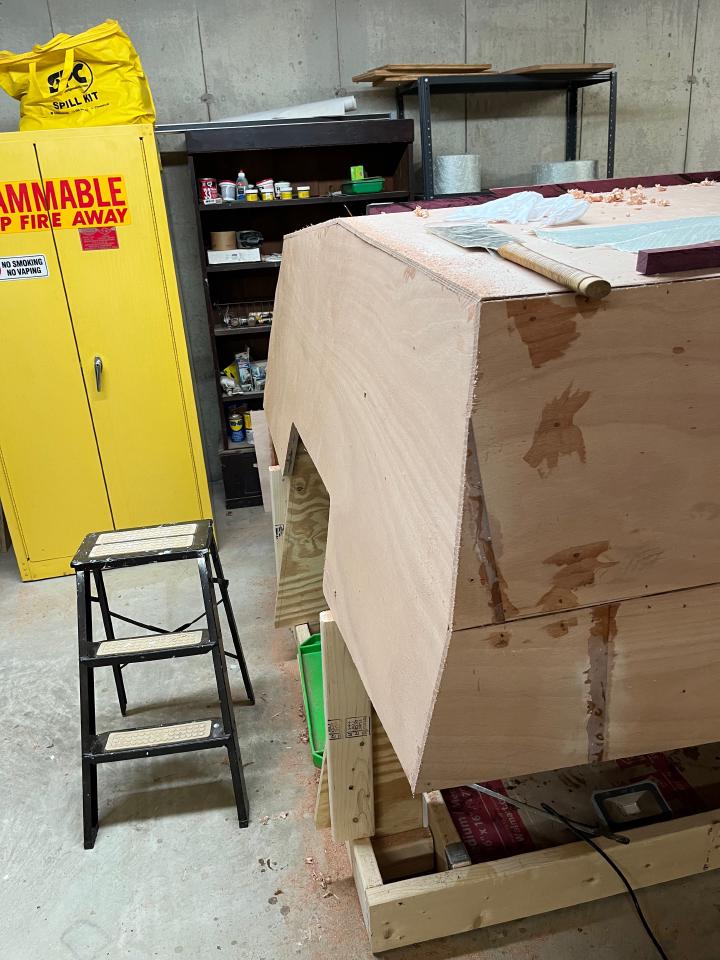
The transom, trimmed
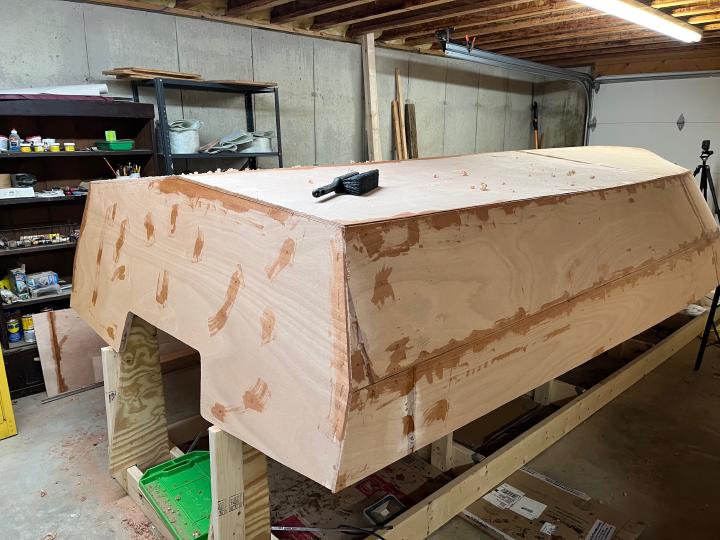
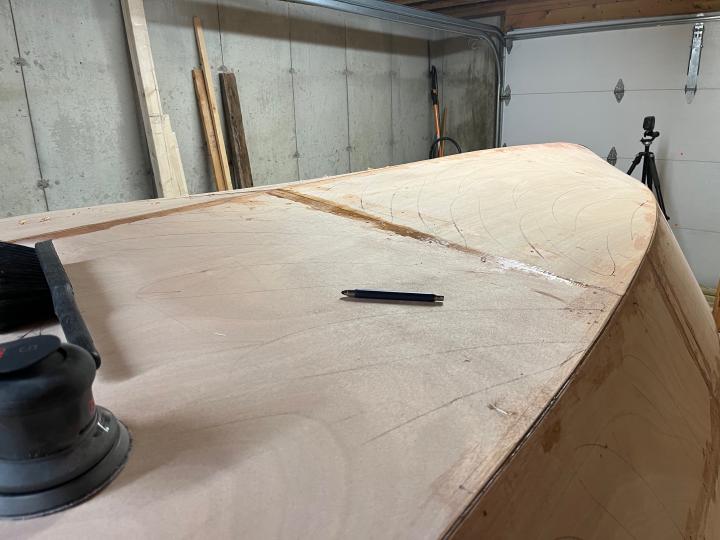
We fill all the holes left by screws and stitching, as well as filling in the cracks between panels. We don’t want to trap any air pockets under the fiberglass. Then we sand everything and round over all the sharp corners that fiberglass wouldn’t bend over well.
Filling screw holes with epoxy
From here on out we sand the hull again and again
A little fairing to get her ready for glass
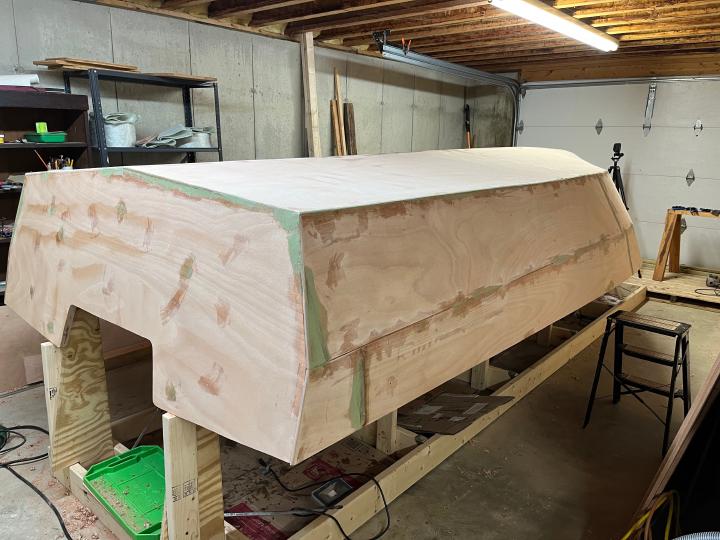
In this case, we’re laying the fiberglass transverse. We overlap the panels by a few inches, starting at the aft end of the boat. That way when she’s moving forward through the water there won’t be any little edges for the water to catch on and try to peel back. We could also lay the glass lengthwise, which would let us have the overlaps along the chines (the seams between the hull planks) for extra strength. But in this case we’ve use two layers of biaxial tape on the inside, so we have a lot of extra strength in those areas already. The advantage of placing the cloth this way is that it is much simpler to trim and pin in place. We have to get it perfectly smooth before we start filling it with epoxy, because any little puckers can create air bubbles where the glass doesn’t get properly adhered to the hull.
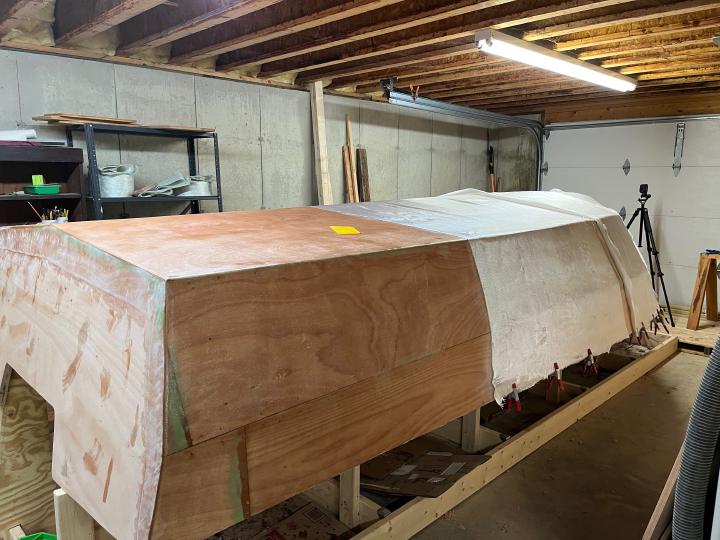
Starting to lay down the fiberglass
Smoothing out more glass
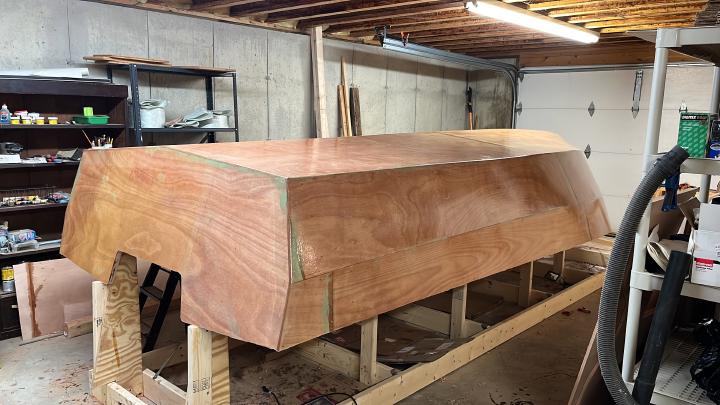
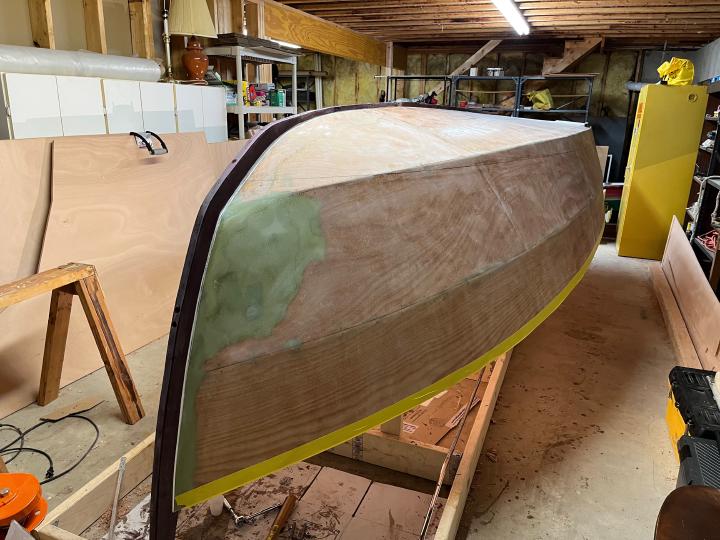
The fully glassed hull
Adding lifting strakes

We take a moment to mark the waterline on the hull, which we’ll use when we’re painting, since we need to use different types of paint above and under water. In this case we mark the waterline 1" above where it’s shown in the plans, so the antifouling bottom paint will be a bit above the water. That way if she floats slightly low we won’t get grass growing on the topside paint. Being able to see the line just above water will also give a bit of visual interest to the paint job. To do the actual marking, we use a laser level, since a straight line on the plans is now nothing like a straight line on the complexly curved surface of the hull.
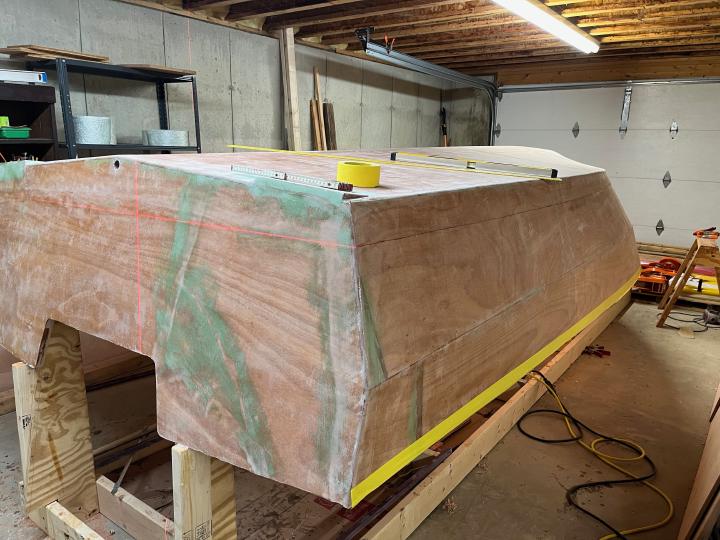
Striking the waterline
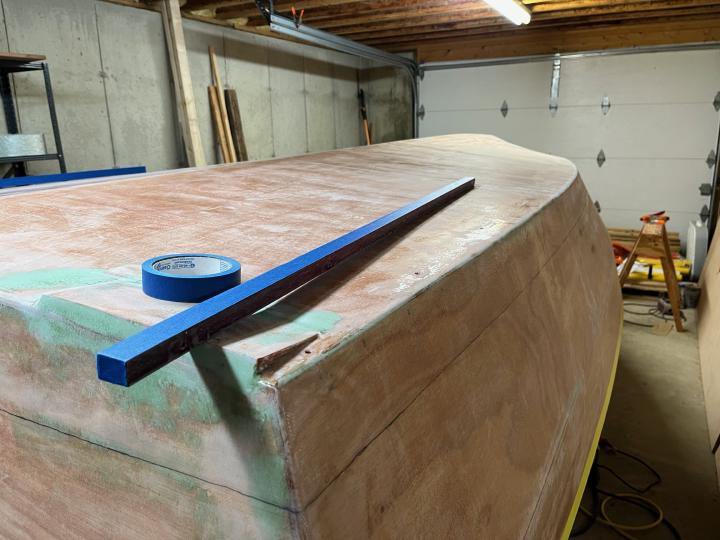
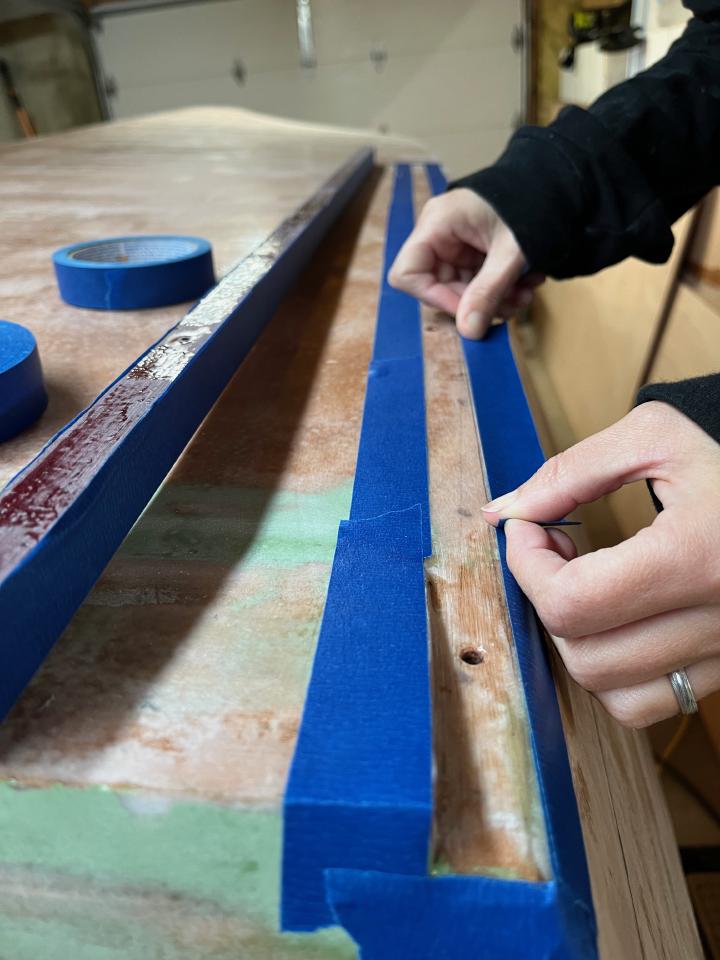
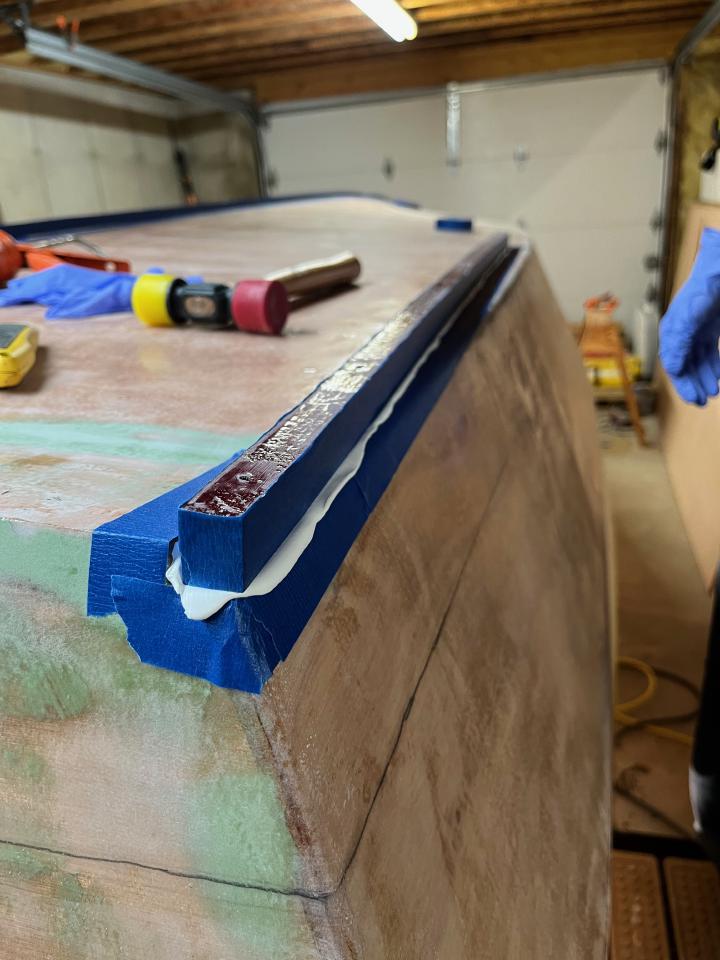
Next we attach the keel and the bilge keels. We use painters tape on either side of the seam, as the sealant can get quite messy. We’re using Sikaflex 291 here, which is a good sealant that’s safe to use under water. It’s a decent adhesive, but not impossible to remove down the line if needed. The keel is the first line of defense against impact damage, so we anticipate the possibility of needing to remove it for repair or replacement. Because of that possibility we’re reluctant to use something as permanent as 3M 5200. Attaching the keels using a rubbery sealant like this, rather than using epoxy, also gives a little bit of shock absorption.
Preparing to glue down the bilge keels
Taping around the bilge keel to keep it neat
Plenty of squeeze out around the bilge keels
Cleaning up the excess Sikaflex around the bilge keels
The keels are screwed in place from inside using bronze screws
The keel in place, from the bow
The keel in place, from the stern
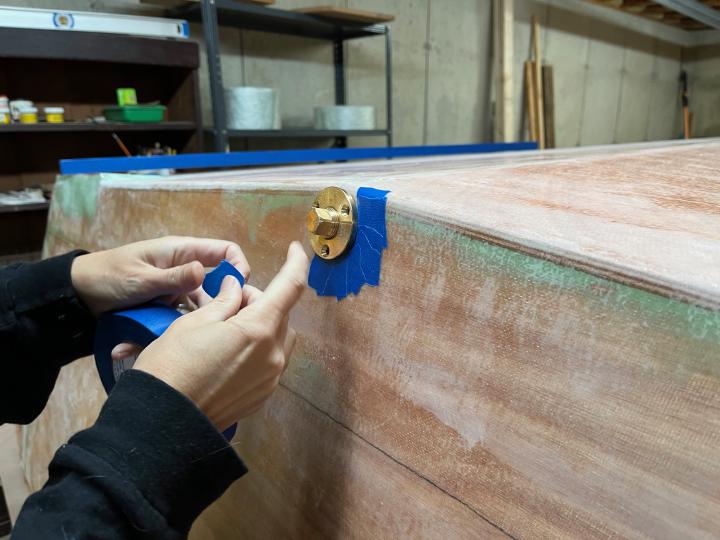
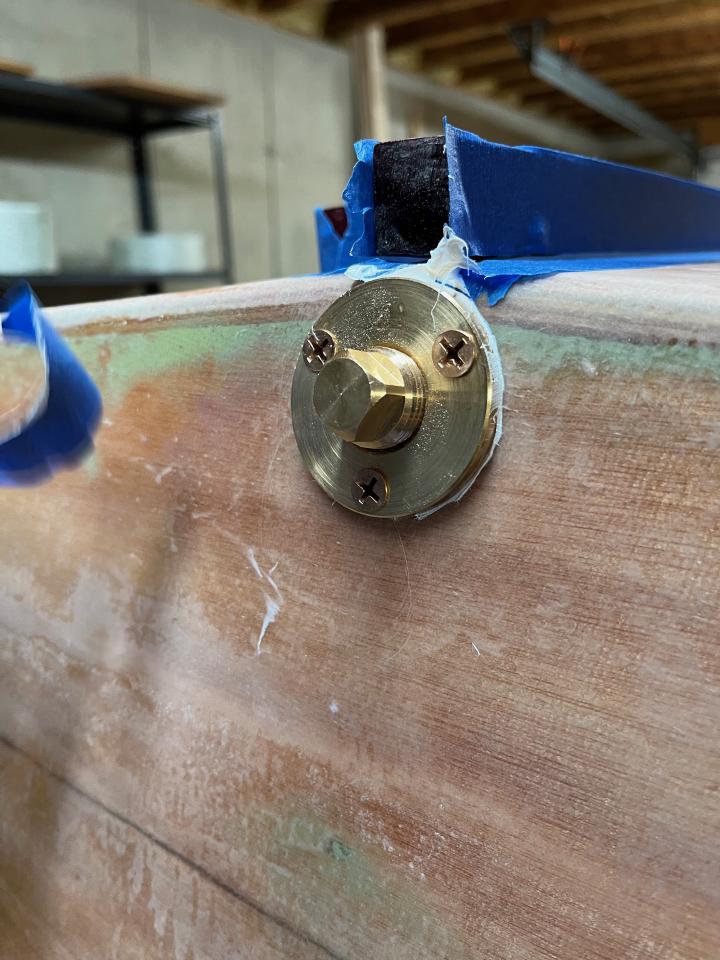
We do the same for a bit of hardware: a drain plug and a bow eye for trailering.
Taping off the drain plug
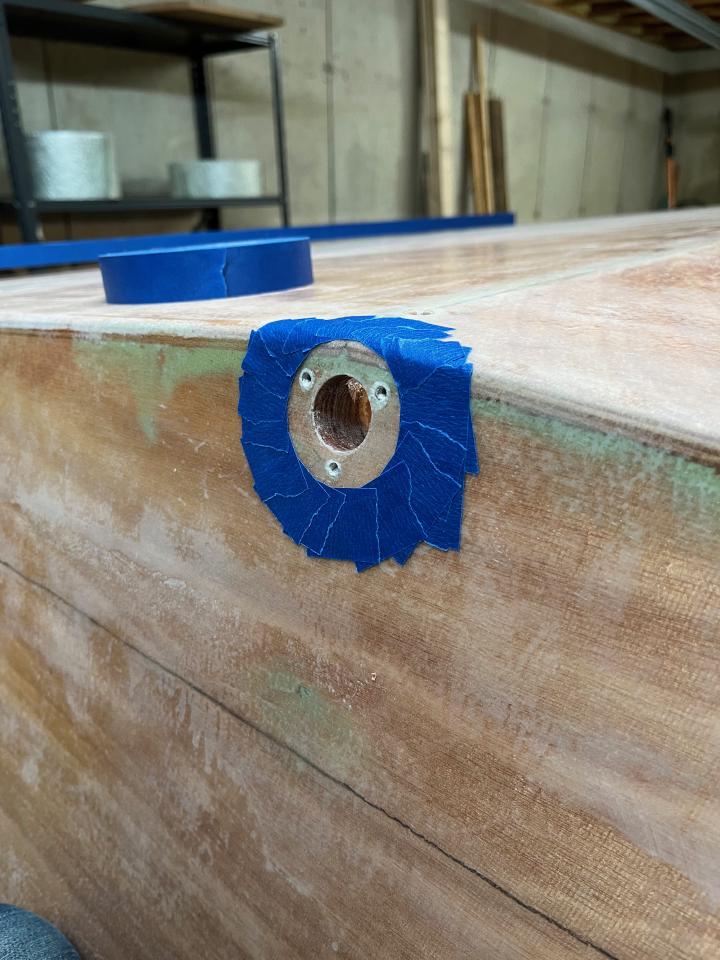
Drain plug, ready for sealant
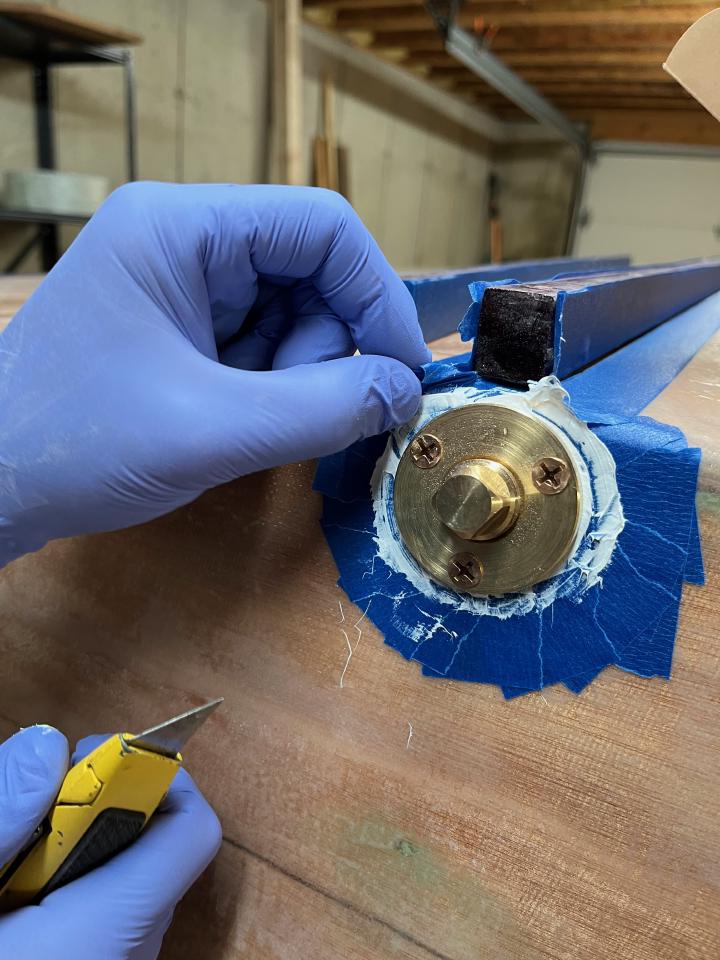
The drain plug, bedded in Sikaflex
The drain plug, with the tape removed
We’ll see a few steps along the way that are legal requirements. While the Sikaflex is curing, we take a moment to stamp out a pair of Hull Identification Number (“HIN”) plates. This is a unique number assigned to the boat that is used when you register it, much like the VIN number on a car. If you’re building a boat like this yourself, you can get a number issued to you by your state.
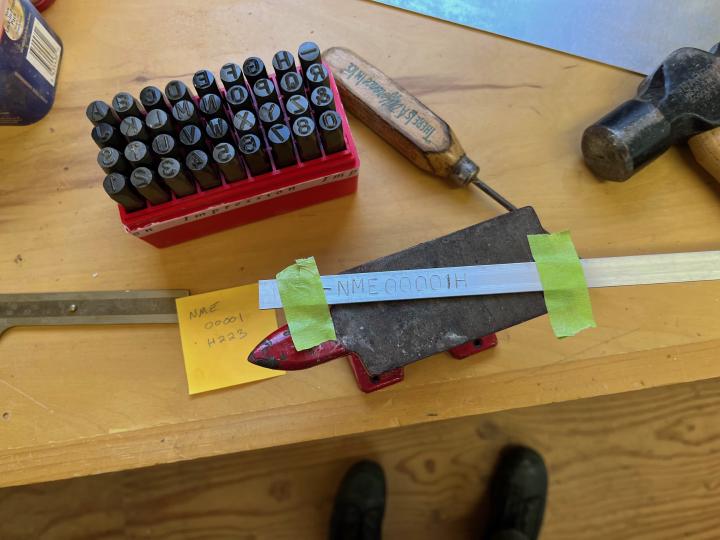
Making HIN plates
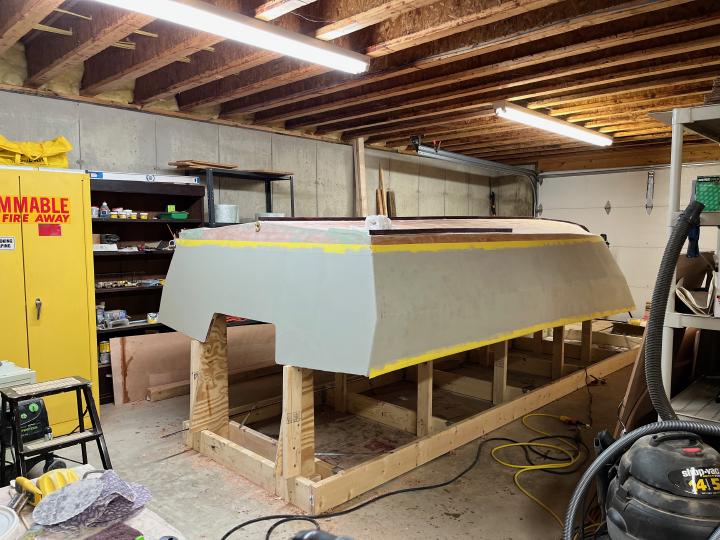
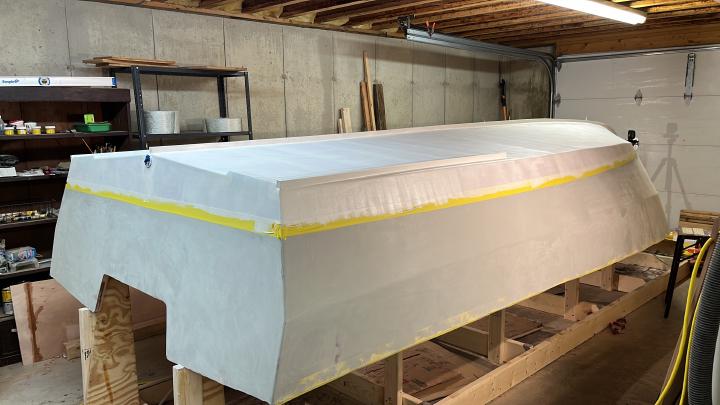
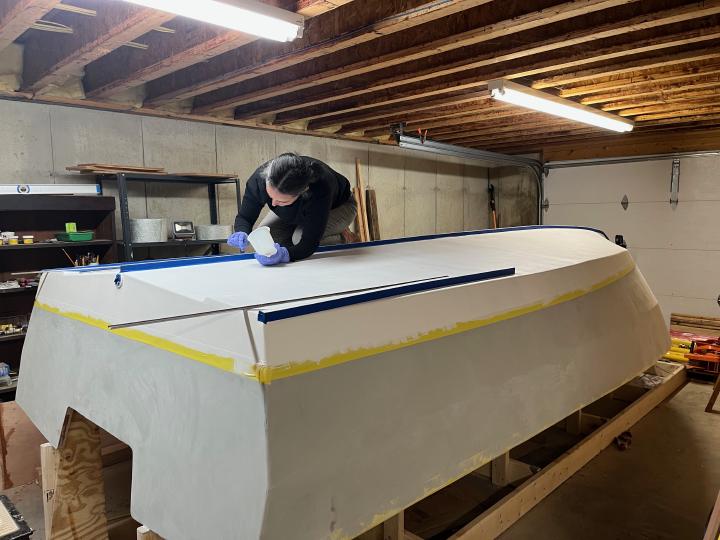
From here on out we start a cycle of priming, fairing, and sanding to get her all the way smooth and ready for her final colors. We’re using a 2 part epoxy primer from TotalBoat above the waterline that sands to silky smooth so that we can get a nice glossy finish above the waterline. Below the waterline we’re using a barrier coat called TotalProtect, that forms a watertight layer between the epoxy and the bottom paint. It’s maybe a bit excessive because epoxy is much more water resistant than the cheaper resins that are used in fully fiberglass boats, but its critical that we keep the wood permanently dry to avoid any chance of rot getting into the hull. So we barrier coat on top of the epoxy.
Priming above the waterline
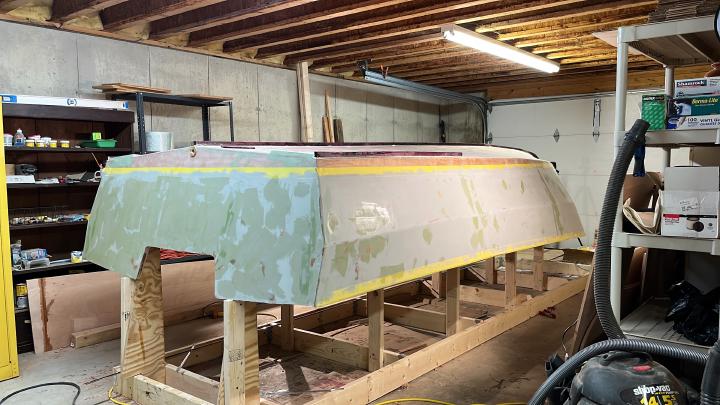
Prime, fair, sand, repeat
Primer and barrier coat going on below the waterline
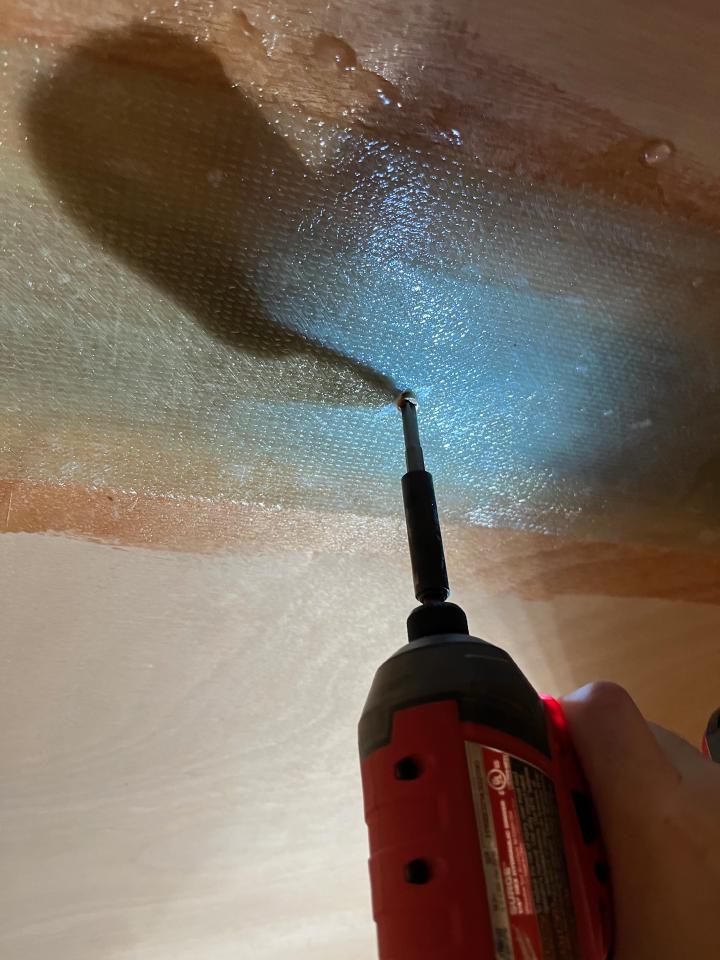
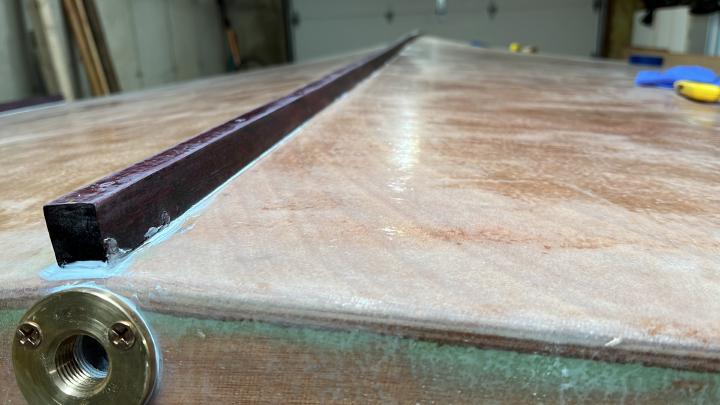
Once a few layers of barrier coat are in place over the hull below the waterline and the keel, we attach a stainless strip as a shoe over the bottom of the keel. This goes on much like the keel itself did, screwed in place over a bed of Sikaflex. This gives us extra protection against grounding, both from the strength of the steel and one more layer of rubbery sealant to absorb shock. The granite ledges around here make running aground no joke. One detail here is that we don’t want water to be able to seep into the purpleheart through the screws, so drill holes, screw in the screws, then back them out and seal the wood inside with epoxy before we finally attach the shoe.
Epoxy sealing the screw holes for the stainless keel guard
Stainless keel guard in place
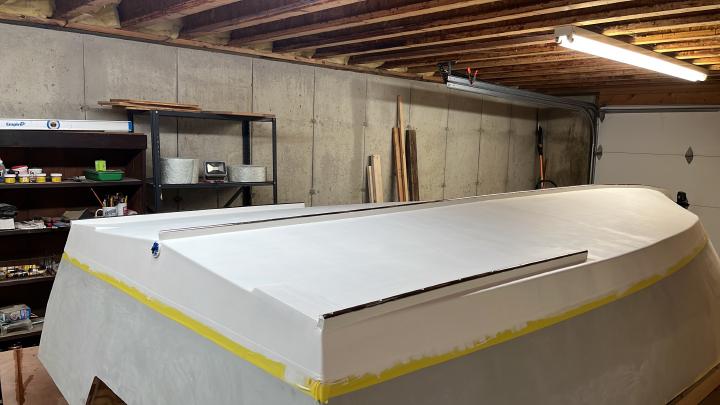
At this point we have a few more coats of primer to put on, then we’re ready to flip her right side up!